How to Create Ads in Google Web Designer

Google's recently released Web Designer tool might have flown under your digital radar, but if you're in a DIY mindset, or your budget doesn't have much room to hire a professional designer, you'll certainly be pleased with the capabilities.
The tool enables anyone (and we mean anyone) to create HTML5-based designs and graphics, that can be run on any device, for the purpose of advertising (there are also some landing page opportunities as well). The solution outputs HTML5 and CSS3 behind the scenes and focuses on the design of advertisements, giving aspiring designers and developers an opportunity to both access and modify the code. The solution is only in beta now but becoming familiar with its features will serve you well, particularly if you're advertising within Adwords, DoubleClick or Admob.
Google Web Designer includes animation modes that make it easy to create scene-by-scene graphics (users can also create layers and animate elements within the stack), 2D and 3D authoring environment tools for developing transformations and translations using CSS3 to rotate objects along an axis, as well as illustration tools.
We won't get into the actual technical requirements for machines running Google Web Designer outside of that you'll need a few gigs of memory, a decent processor and a modestly up-to-date operating system, or how to install the software (if you don't know by now how to install software, you're reading the wrong magazine!).
The focus (below) of this article will be on actually creating an advertisement (300x250) in Google Web Designer. If you happen to get lost, or if the instructions listed here only make you more confused about how to use the tool, know that Google offers up a detailed help section along with a support forum (staffed by other users and a few Google-sites thrown in for good measure.
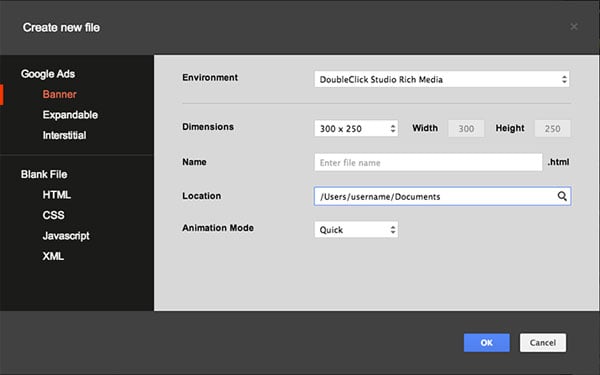
On with the (ad) show! When you're ready to create, open up the software and select "New File" from the File menu - at that point a dialog box will appear (seen below) where you'll select the environment you will be creating the ad for along with its dimensions, file type, and a few other specifications. Enter a name for the file and select a location where it can be saved. The last step is to choose the animation mode. The Quick mode lets designers animate their ad scene by scene, whereas the Advanced mode will let a designer animate individual elements at a timeline they define.
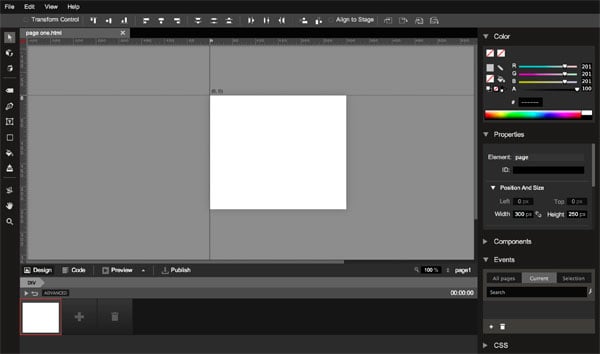
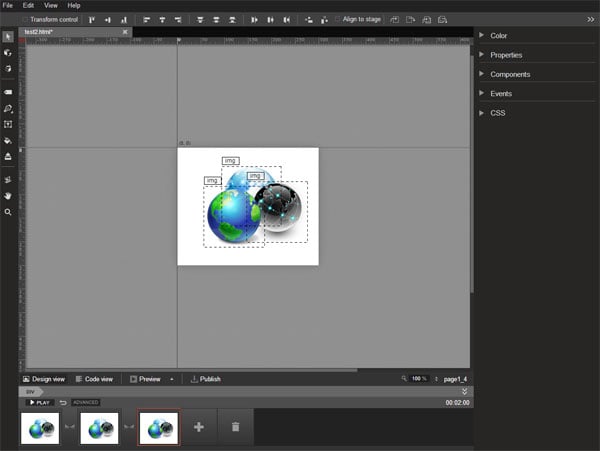
The next step is to set up the banner page. Designers will need to import their images by dragging them into the visible work area, but they can also opt to use image tags. Arrange the images (and other elements) on the visible stage and create animations (or bring in additional components such as a carousel, swipable, or 360 degree gallery) onto the page at this point.
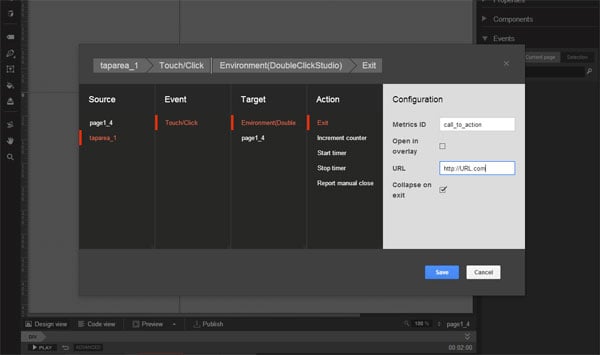
The last step is to include a call-to-action on the banner page. In this step, it is important that of the images you have imported, there is a section that can serve as an area for users to click or touch. Simply drag the "Tap Area" component from the components pane to the stage and place it over the pre-defined call to action. Then, click the "New event" button found within the events panel.
Finally, within the event dialog box that emerges, select the TapArea component, the "Touch/Click" event, th ead encironemtn, the "exit" action and configure the metrics ID to include a label for the banner along with the exit URL.
At this point, you're ready to preview your ad. Just select "Preview" from the bottom of the screen and the browser in which to view it and you're done. Congratulations - you've just created your first ad within Google Web Designer!